Deploying with Database
Now that our application is complete 🥳, let’s deploy it! This is the easiest step in the whole process.
Within the Terminal, run:
npm run releasepnpm run releaseyarn run releaseWithin the Terminal, it will ask you: Do you want to proceed with deployment? (y/N): Type y and press Enter.
Everything should just work! 🙌
Go to your dashboard in Cloudflare, on the left side navigation click on Workers & Pages. You should see your application in the list. Then, you can click on the Visit link to see your application online.

Deleting Your Project
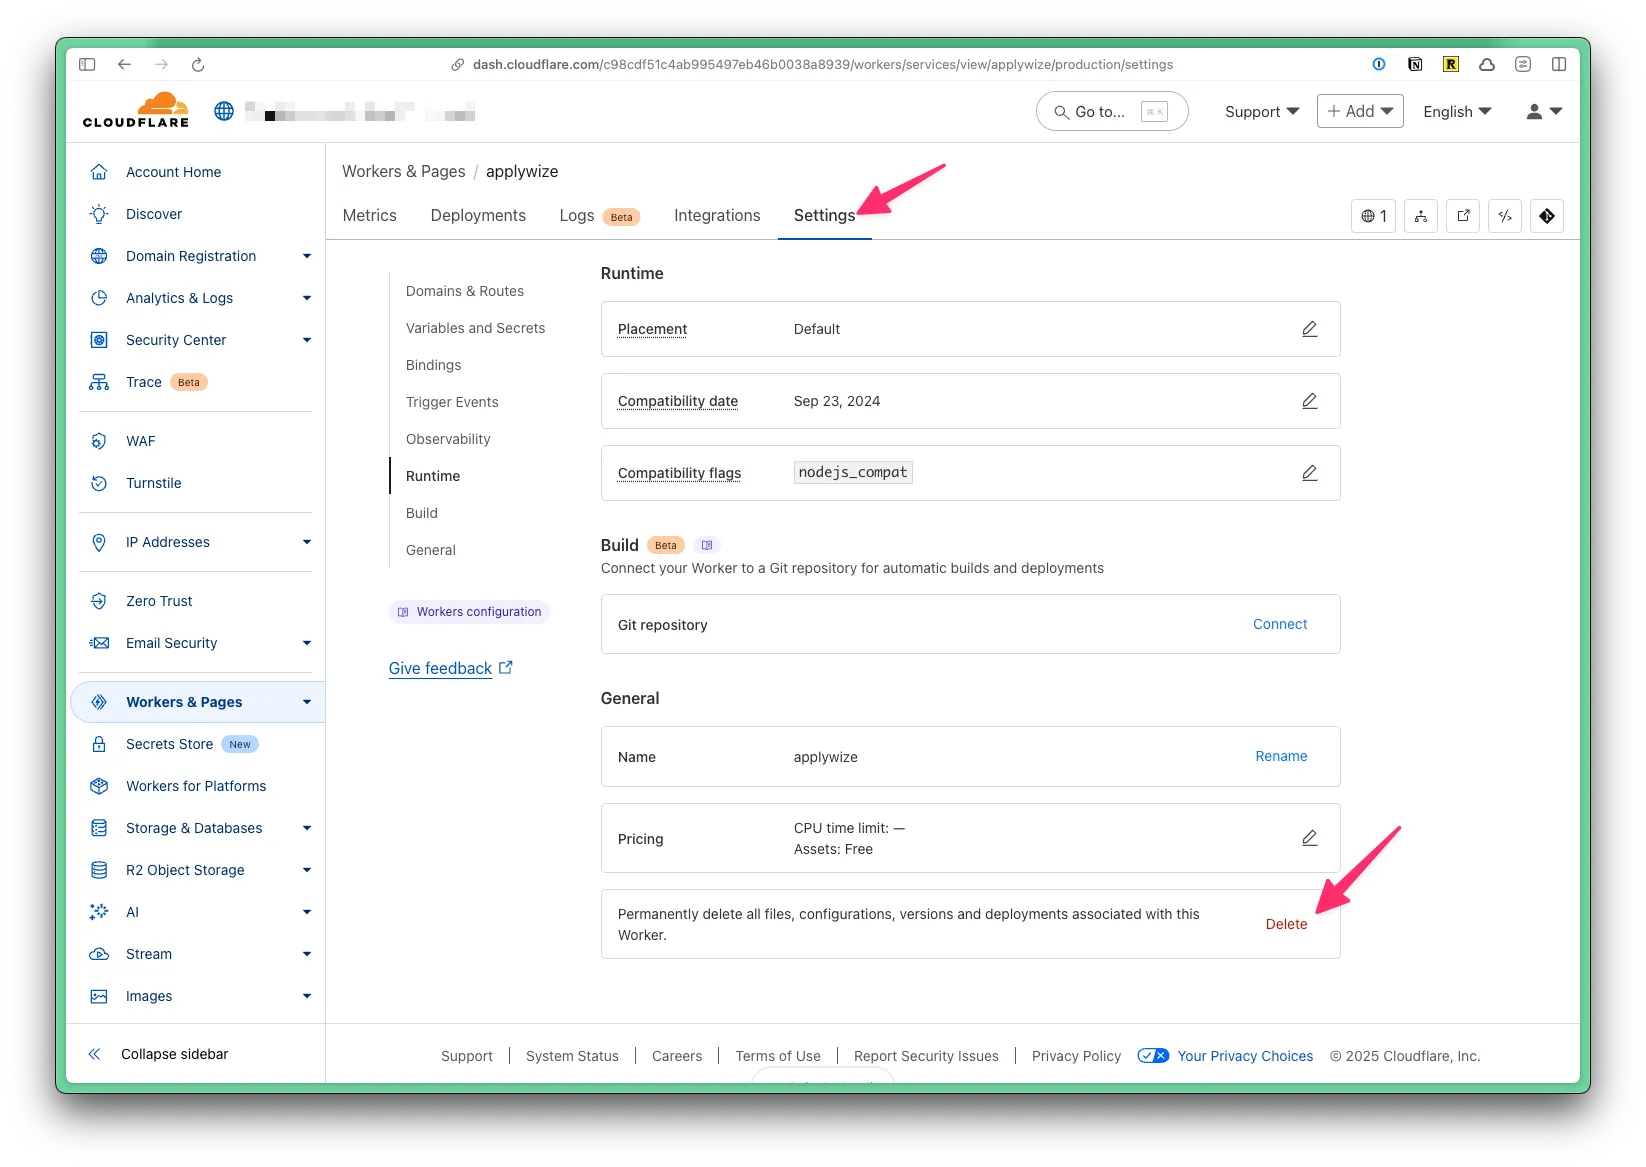
Section titled “Deleting Your Project”If for whatever reason, you need to delete your project through Cloudflare, go to Workers & Pages in the left side navigation. Then, click on the name of your project. Click on the Settings tab, then scroll to the bottom of the page. Click on the Delete button.
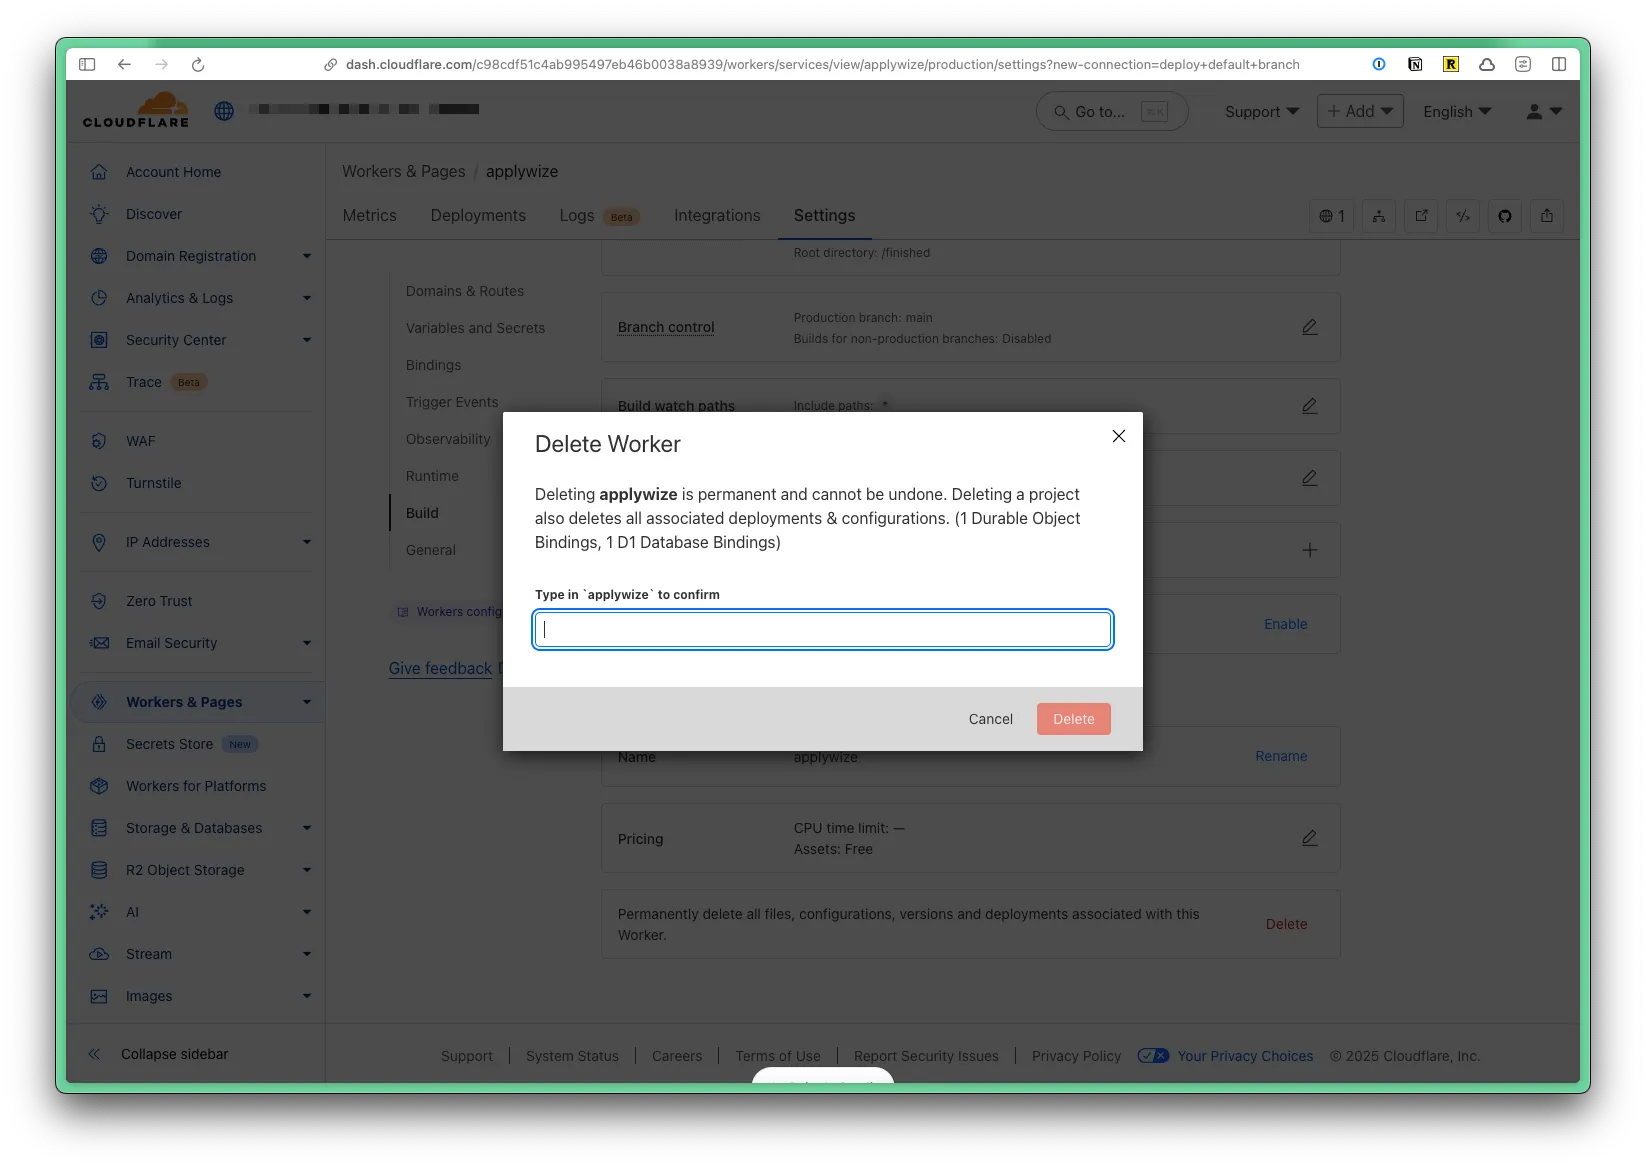
A confirmation modal will appear, asking you to type the name of your project, then click on the Delete button.
Using a Custom Domain Name
Section titled “Using a Custom Domain Name”To use a custom domain name, go to Workers & Pages in the left side navigation. Then, click on the name of your project. Click on the Settings tab. At the top, you’ll see the domains associated with your project.
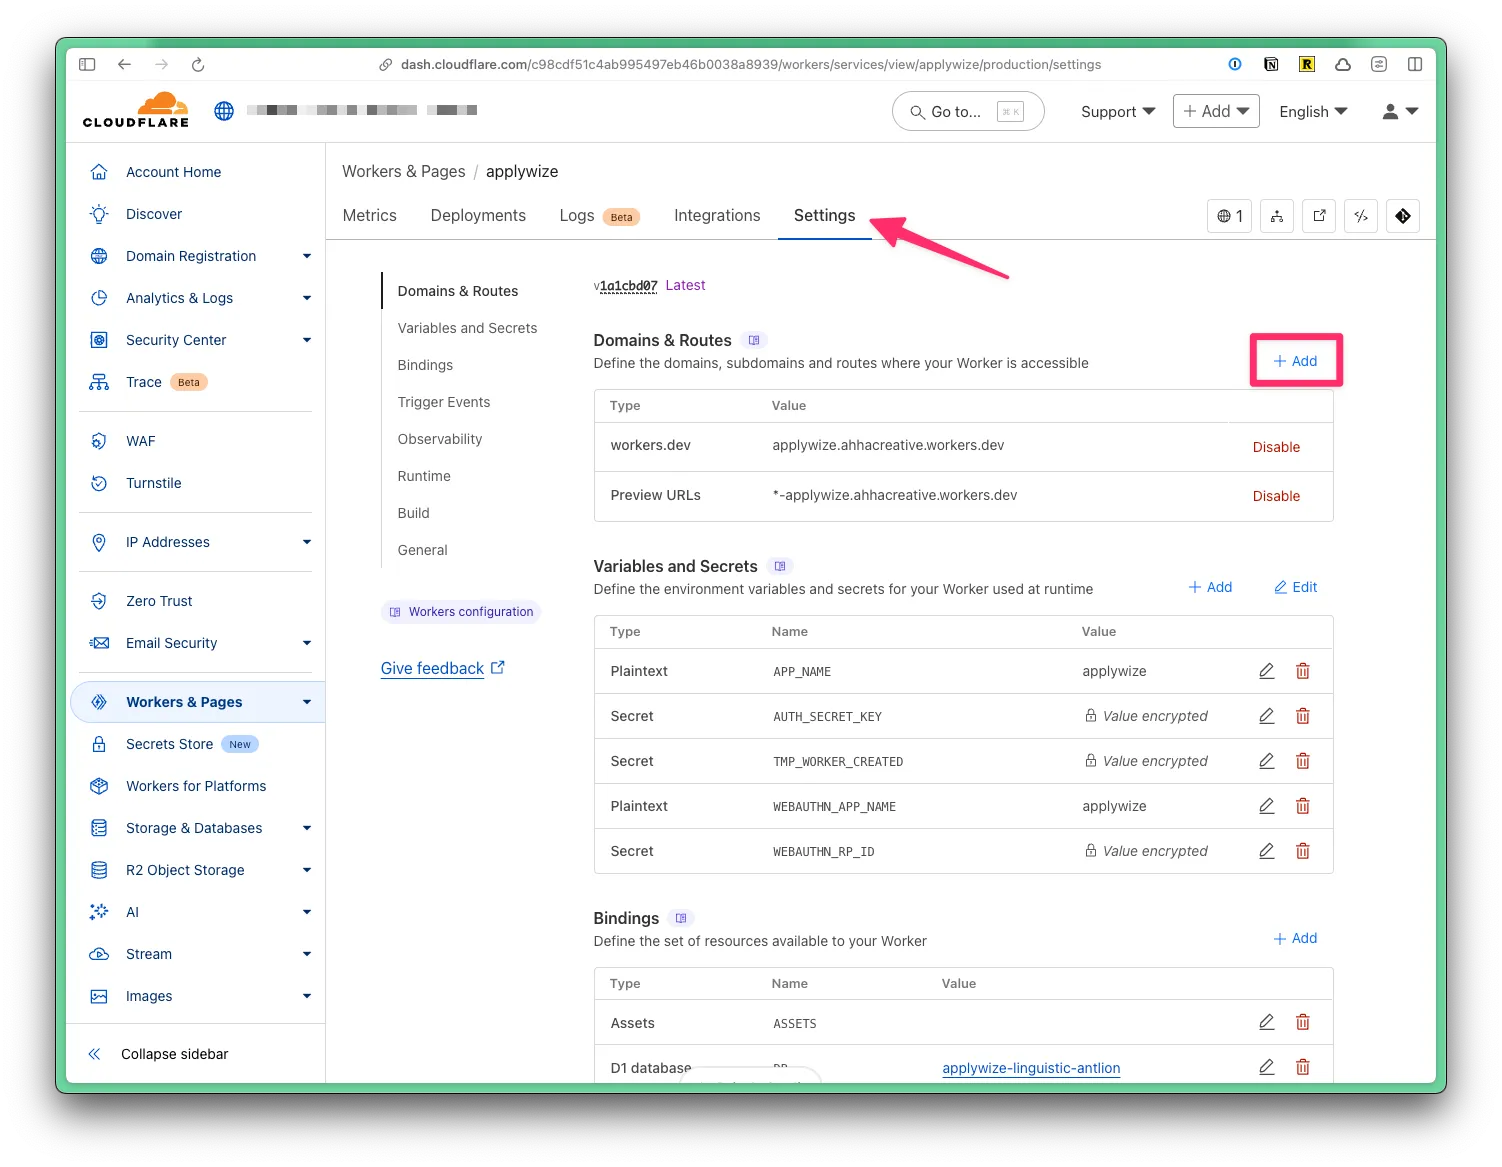
Click on the + Add button at the top of the Domains & Routes table. A side panel will appear:
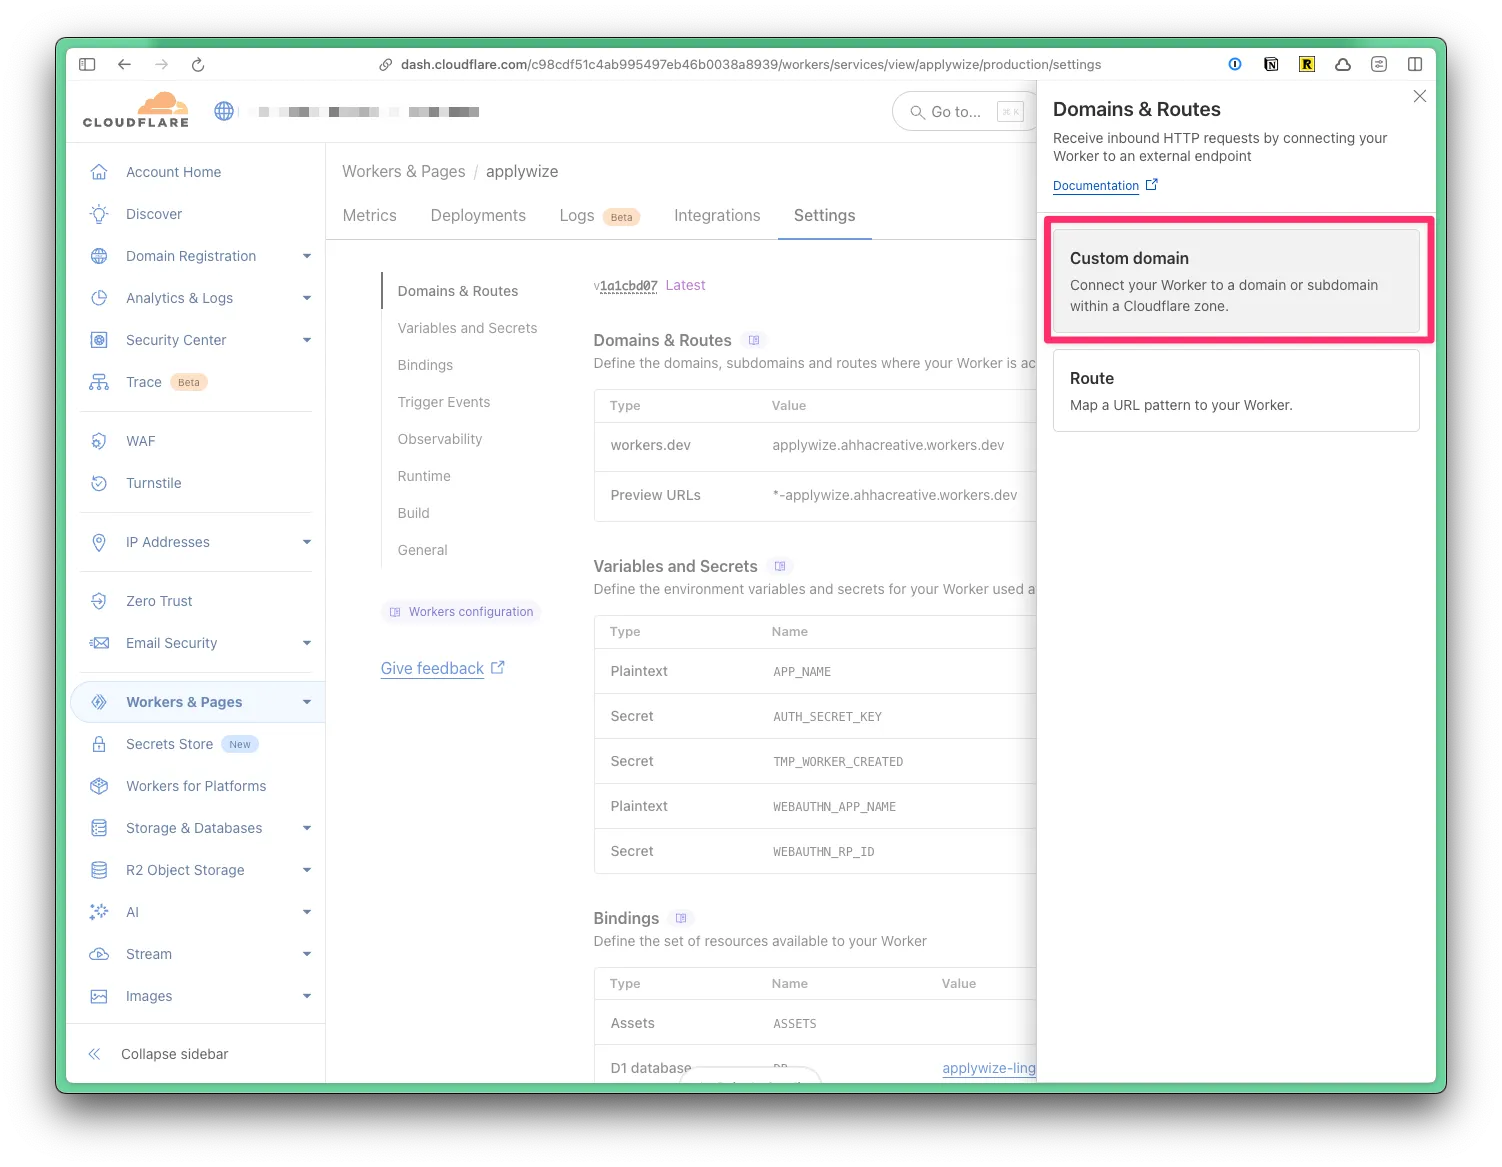
Click on the Custom Domain option. Then, it will ask you enter the domain name you want to use.
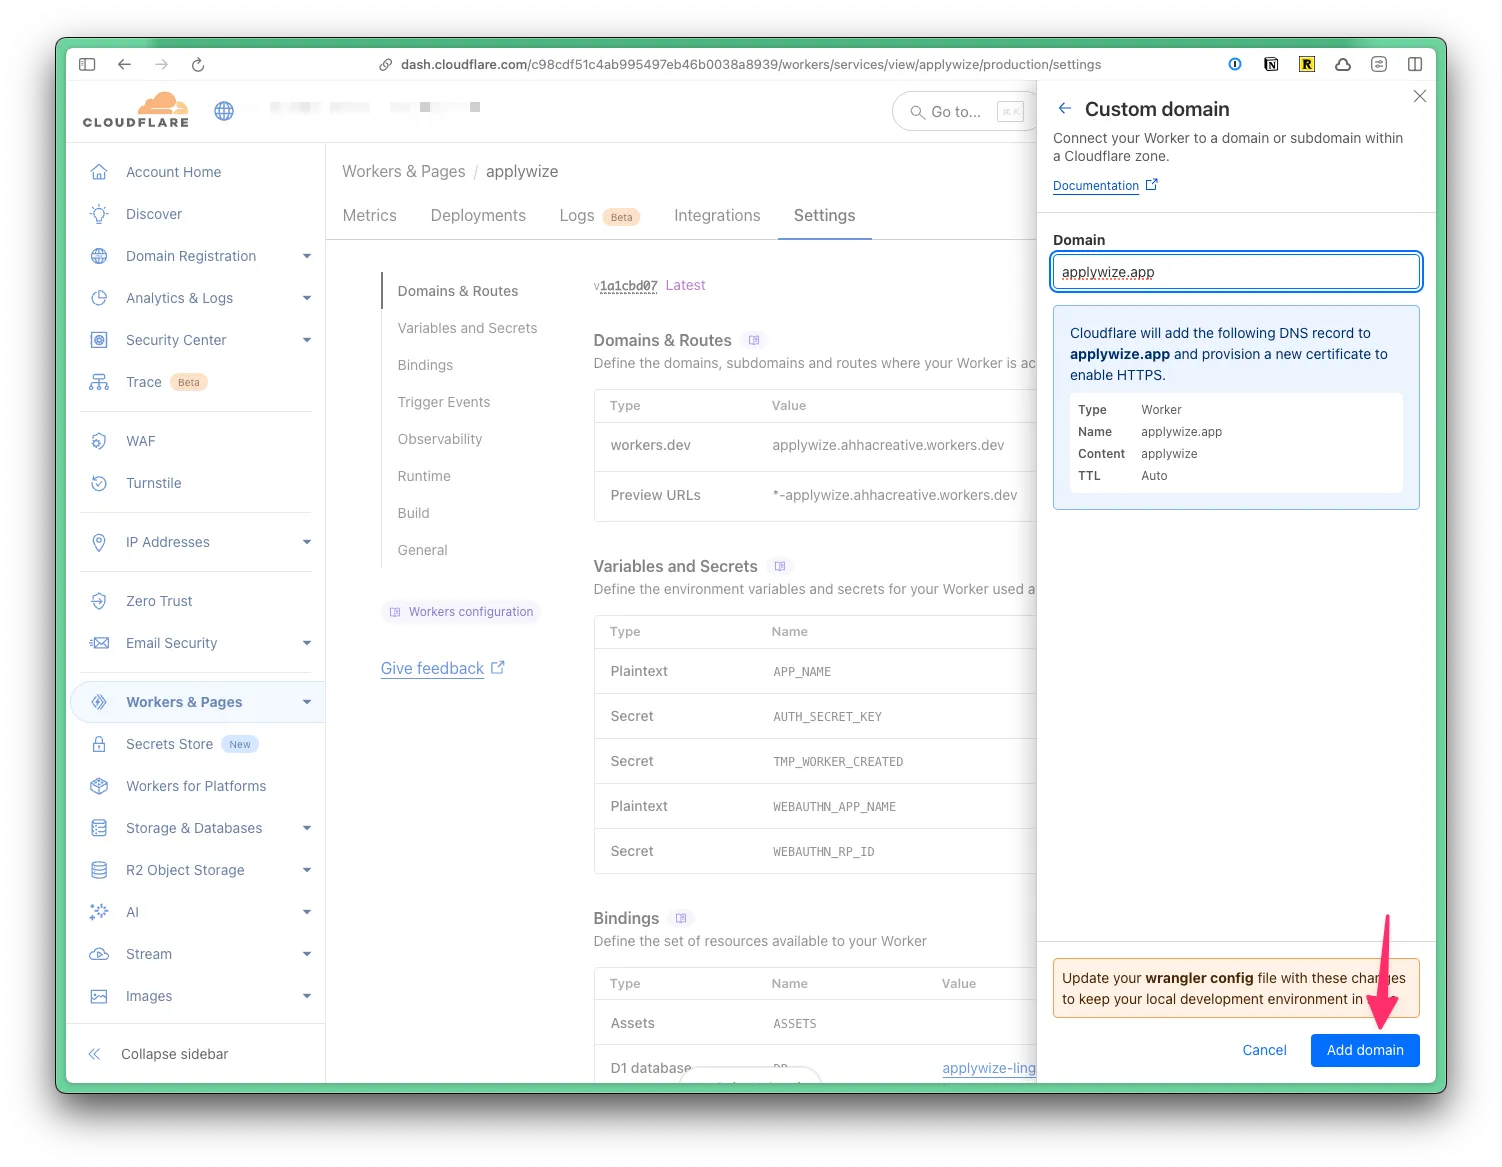
I had already purchased applywize.app through Cloudflare, so there was nothing else I needed to do. Cloudflare was able to resolve the domain and assign SSL certificates.

Connecting our Application to GitHub
Section titled “Connecting our Application to GitHub”You can connect your application to GitHub, so that anytime you push a commit to a given branch, it will automatically deploy your application. Go to Workers & Pages in the left side navigation. Then, click on the name of your project. Click on the Settings tab. Near the bottom of the page, you’ll find a section called Build where you can connect GitHub.
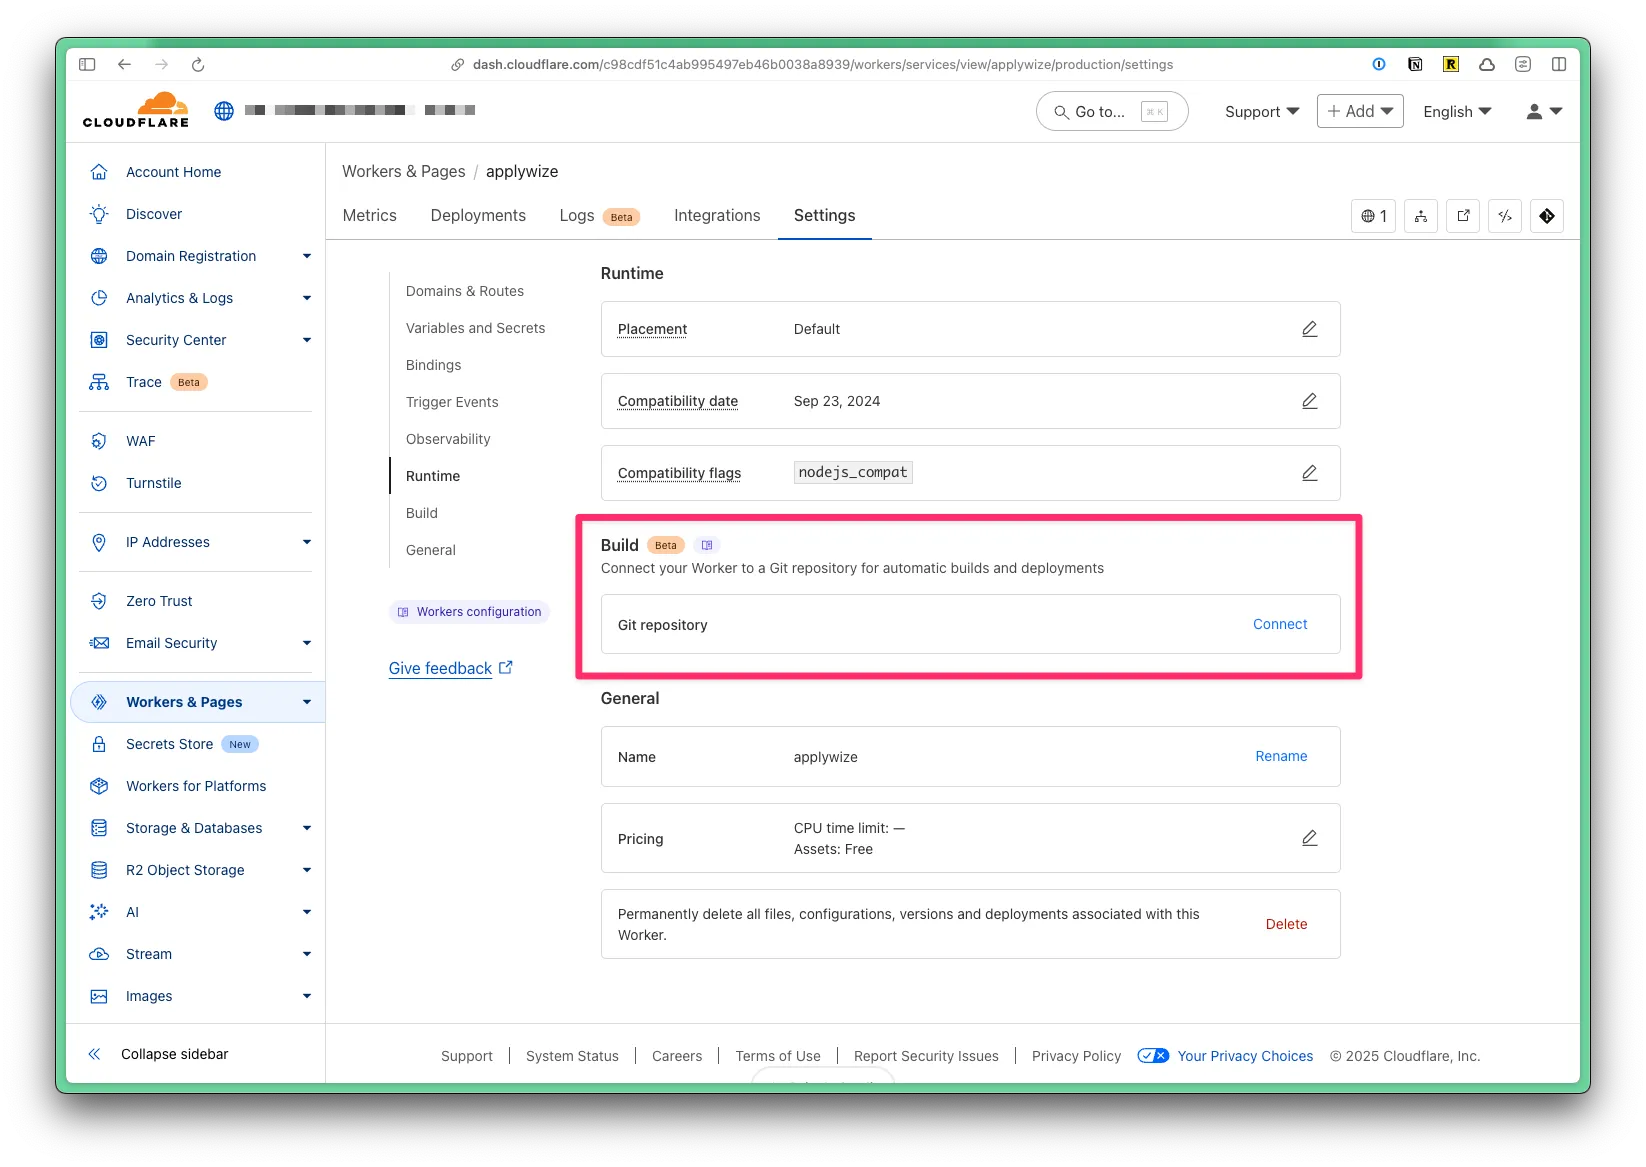
Click on the Connect button. A side panel will appear and ask you to configure the connection.
In most cases the default settings will work. However, the Applywize repository is a monorepo. It contains different checkpoints for the tutorial, as well as folders for the application’s assets. The finished application is inside the finished folder.
Under the Advanced Settings section, I expanded the Root Directory section and changed the Path to /finished/.

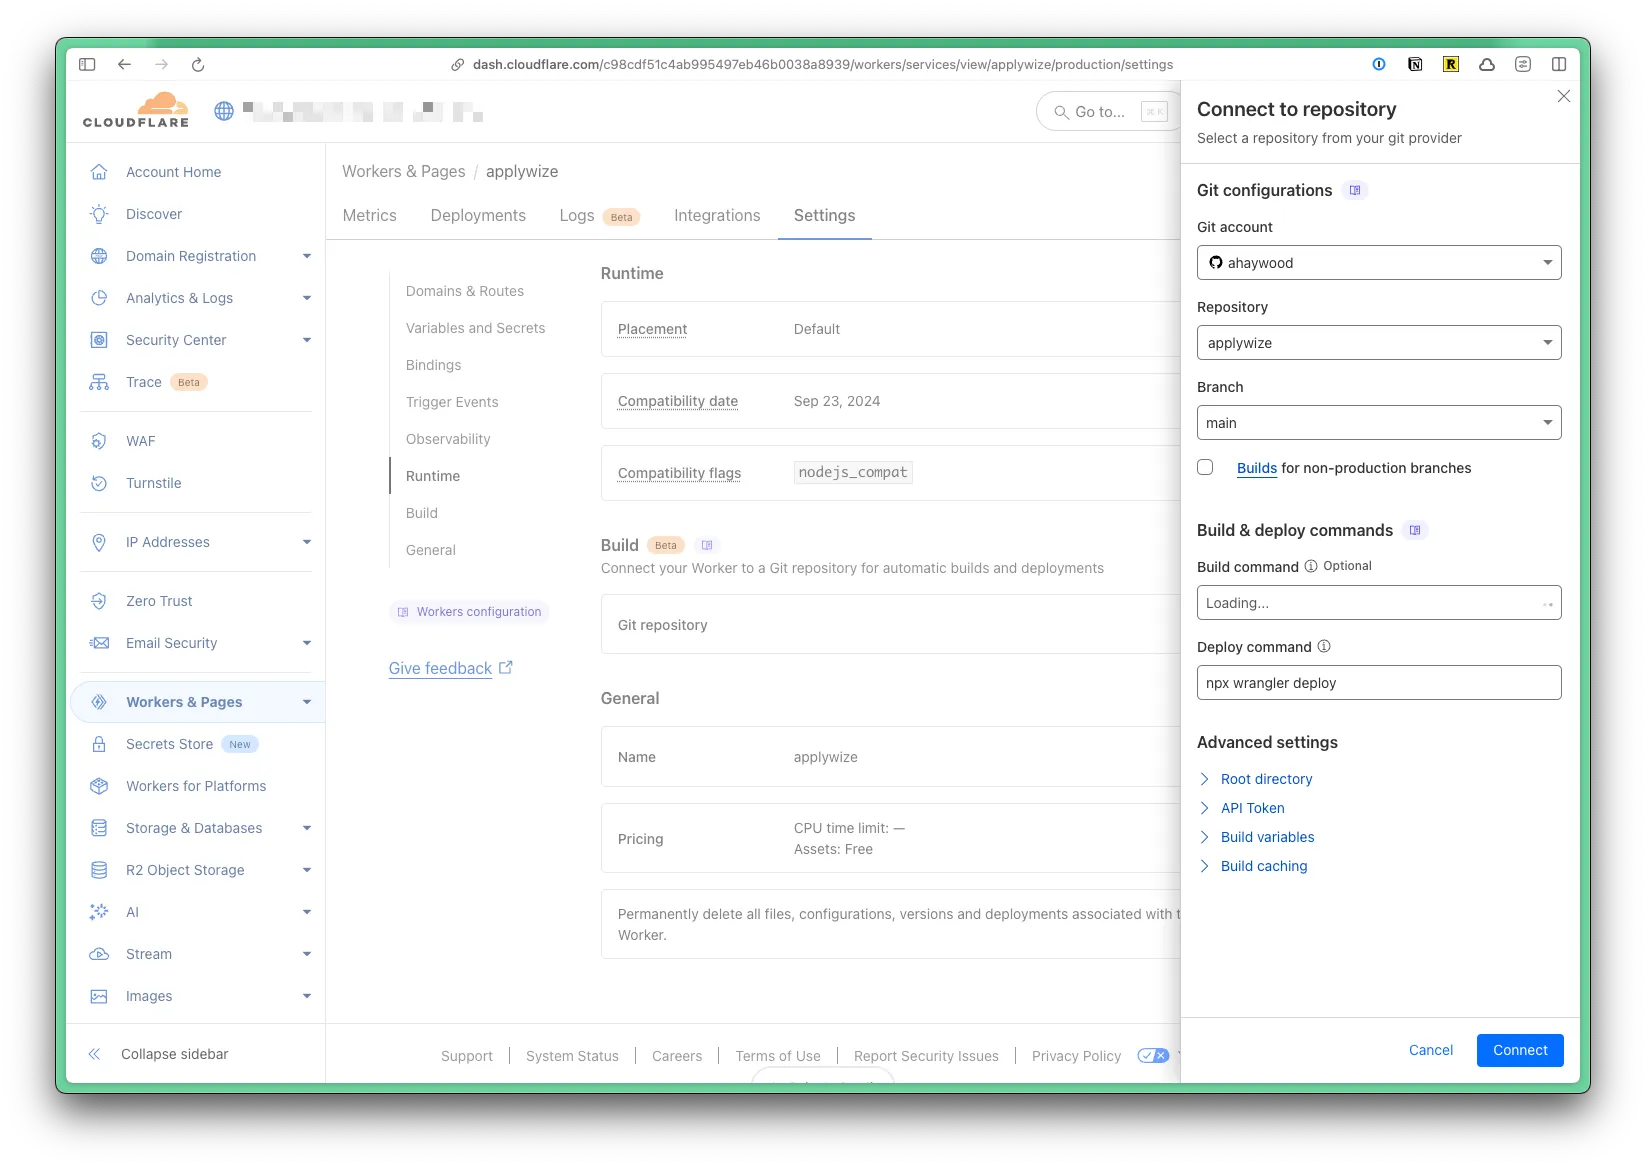
Once your repository is successfully connected, the Build section will update to show the connection.

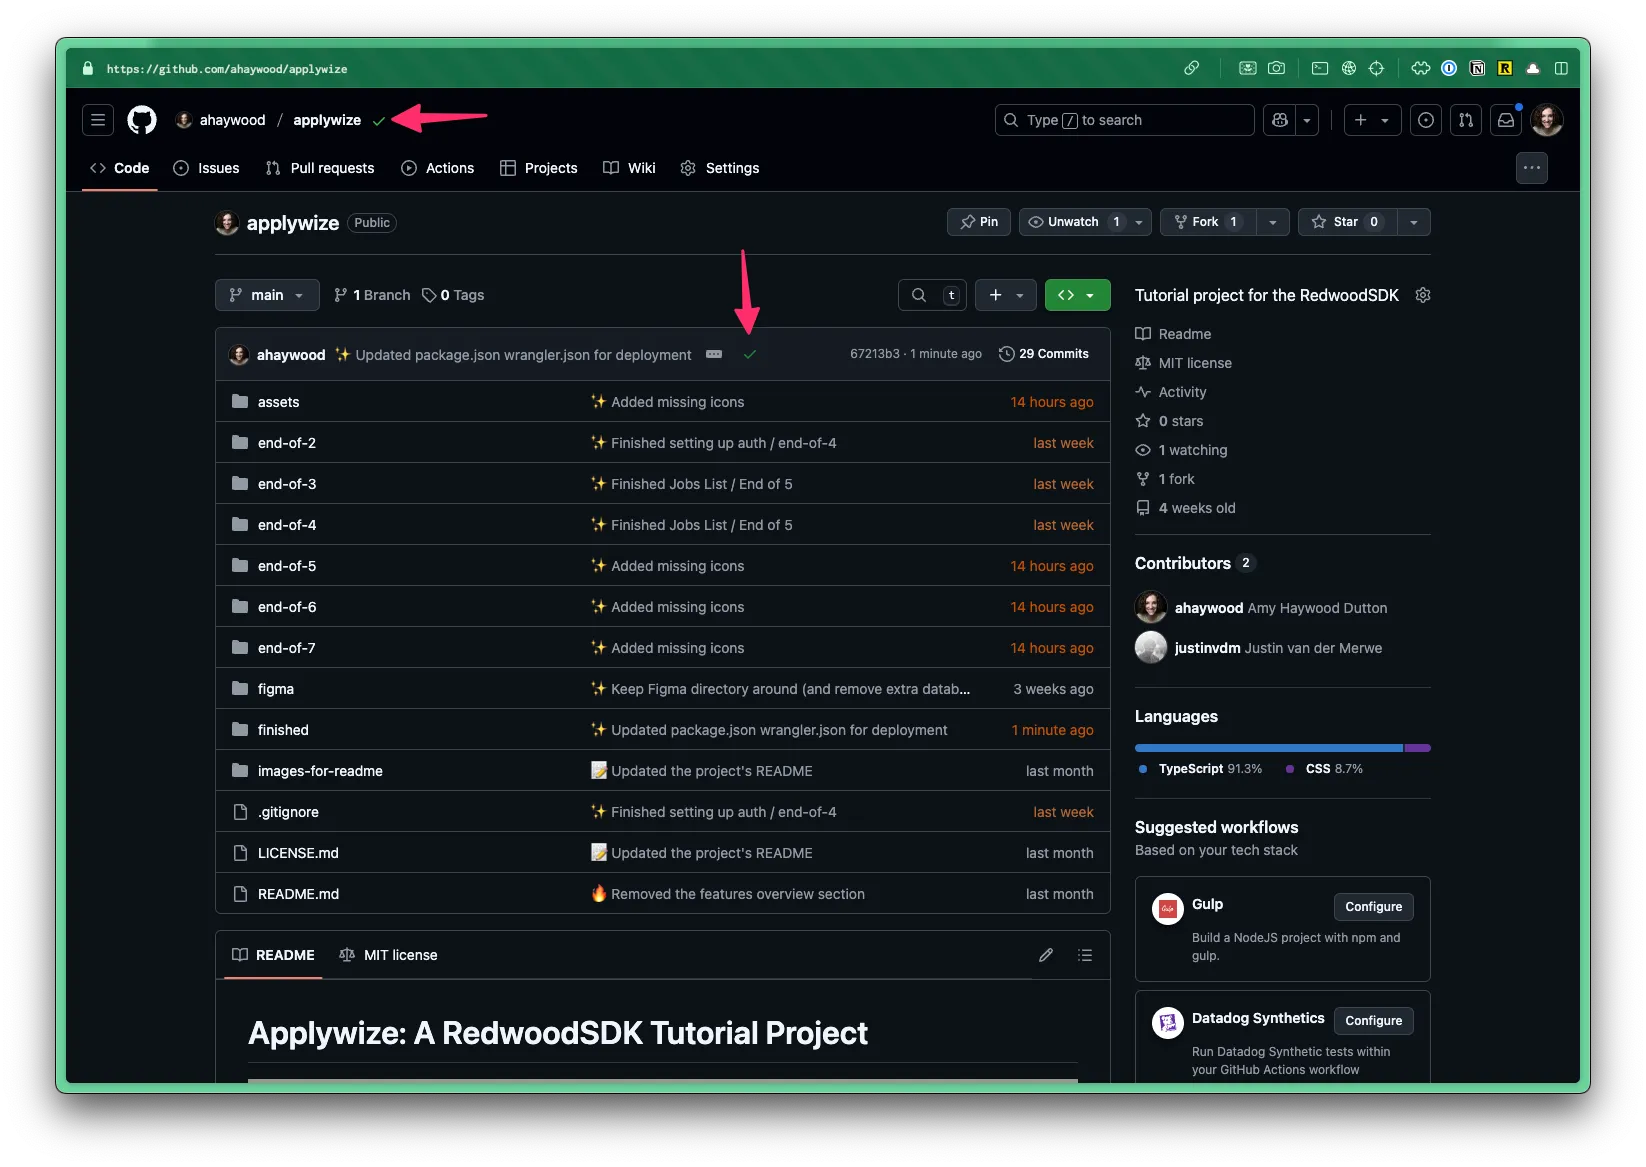
Try pushing a commit to the main branch and your application should deploy automatically. While it’s building, you’ll see a yellow dot next to the repository name in GitHub:

Once the checks have passed and the build is successful, the yellow dot will change to a green checkmark.
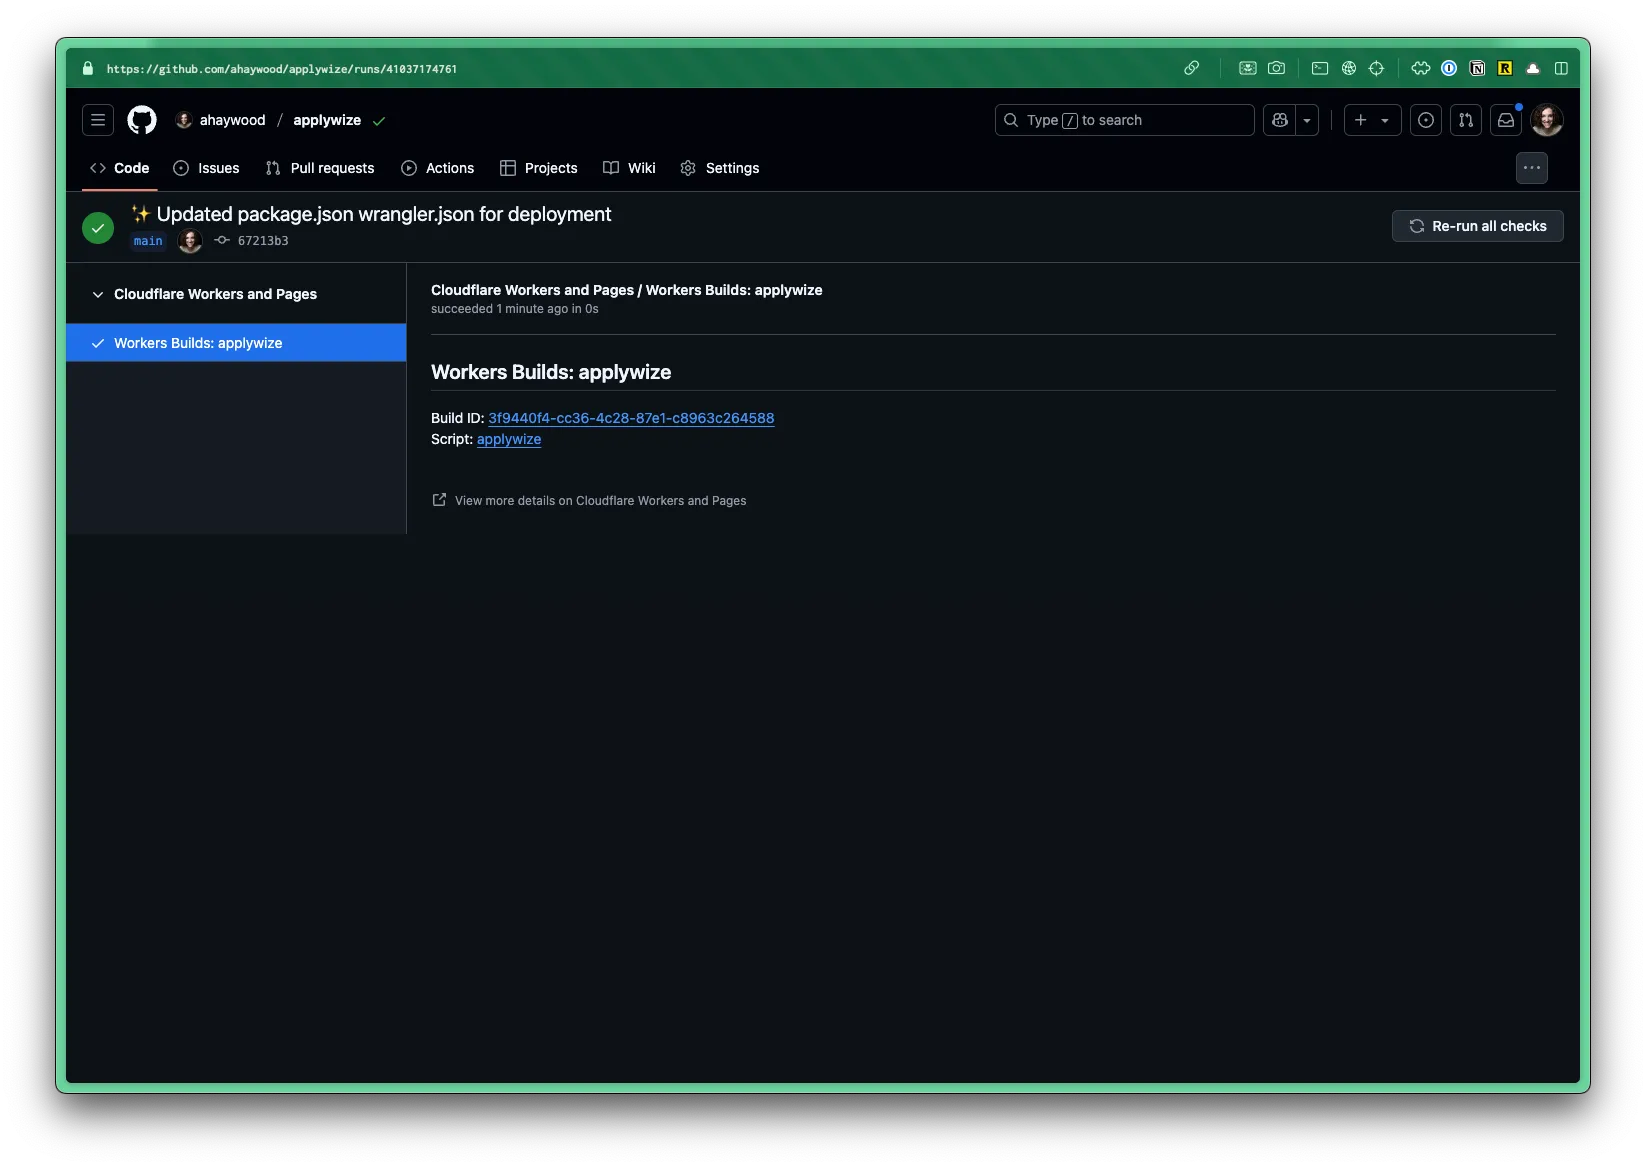
You can click on the checkmark to see additional details:

If you click on the Details link, it will take you to a dedicated page within GitHub:
Congrats! You should know everything you need to know to build your own application, using RedwoodSDK. We’d love to see what you build. Please share your work and stay in touch by registering for our newsletter.