Open Graph Images
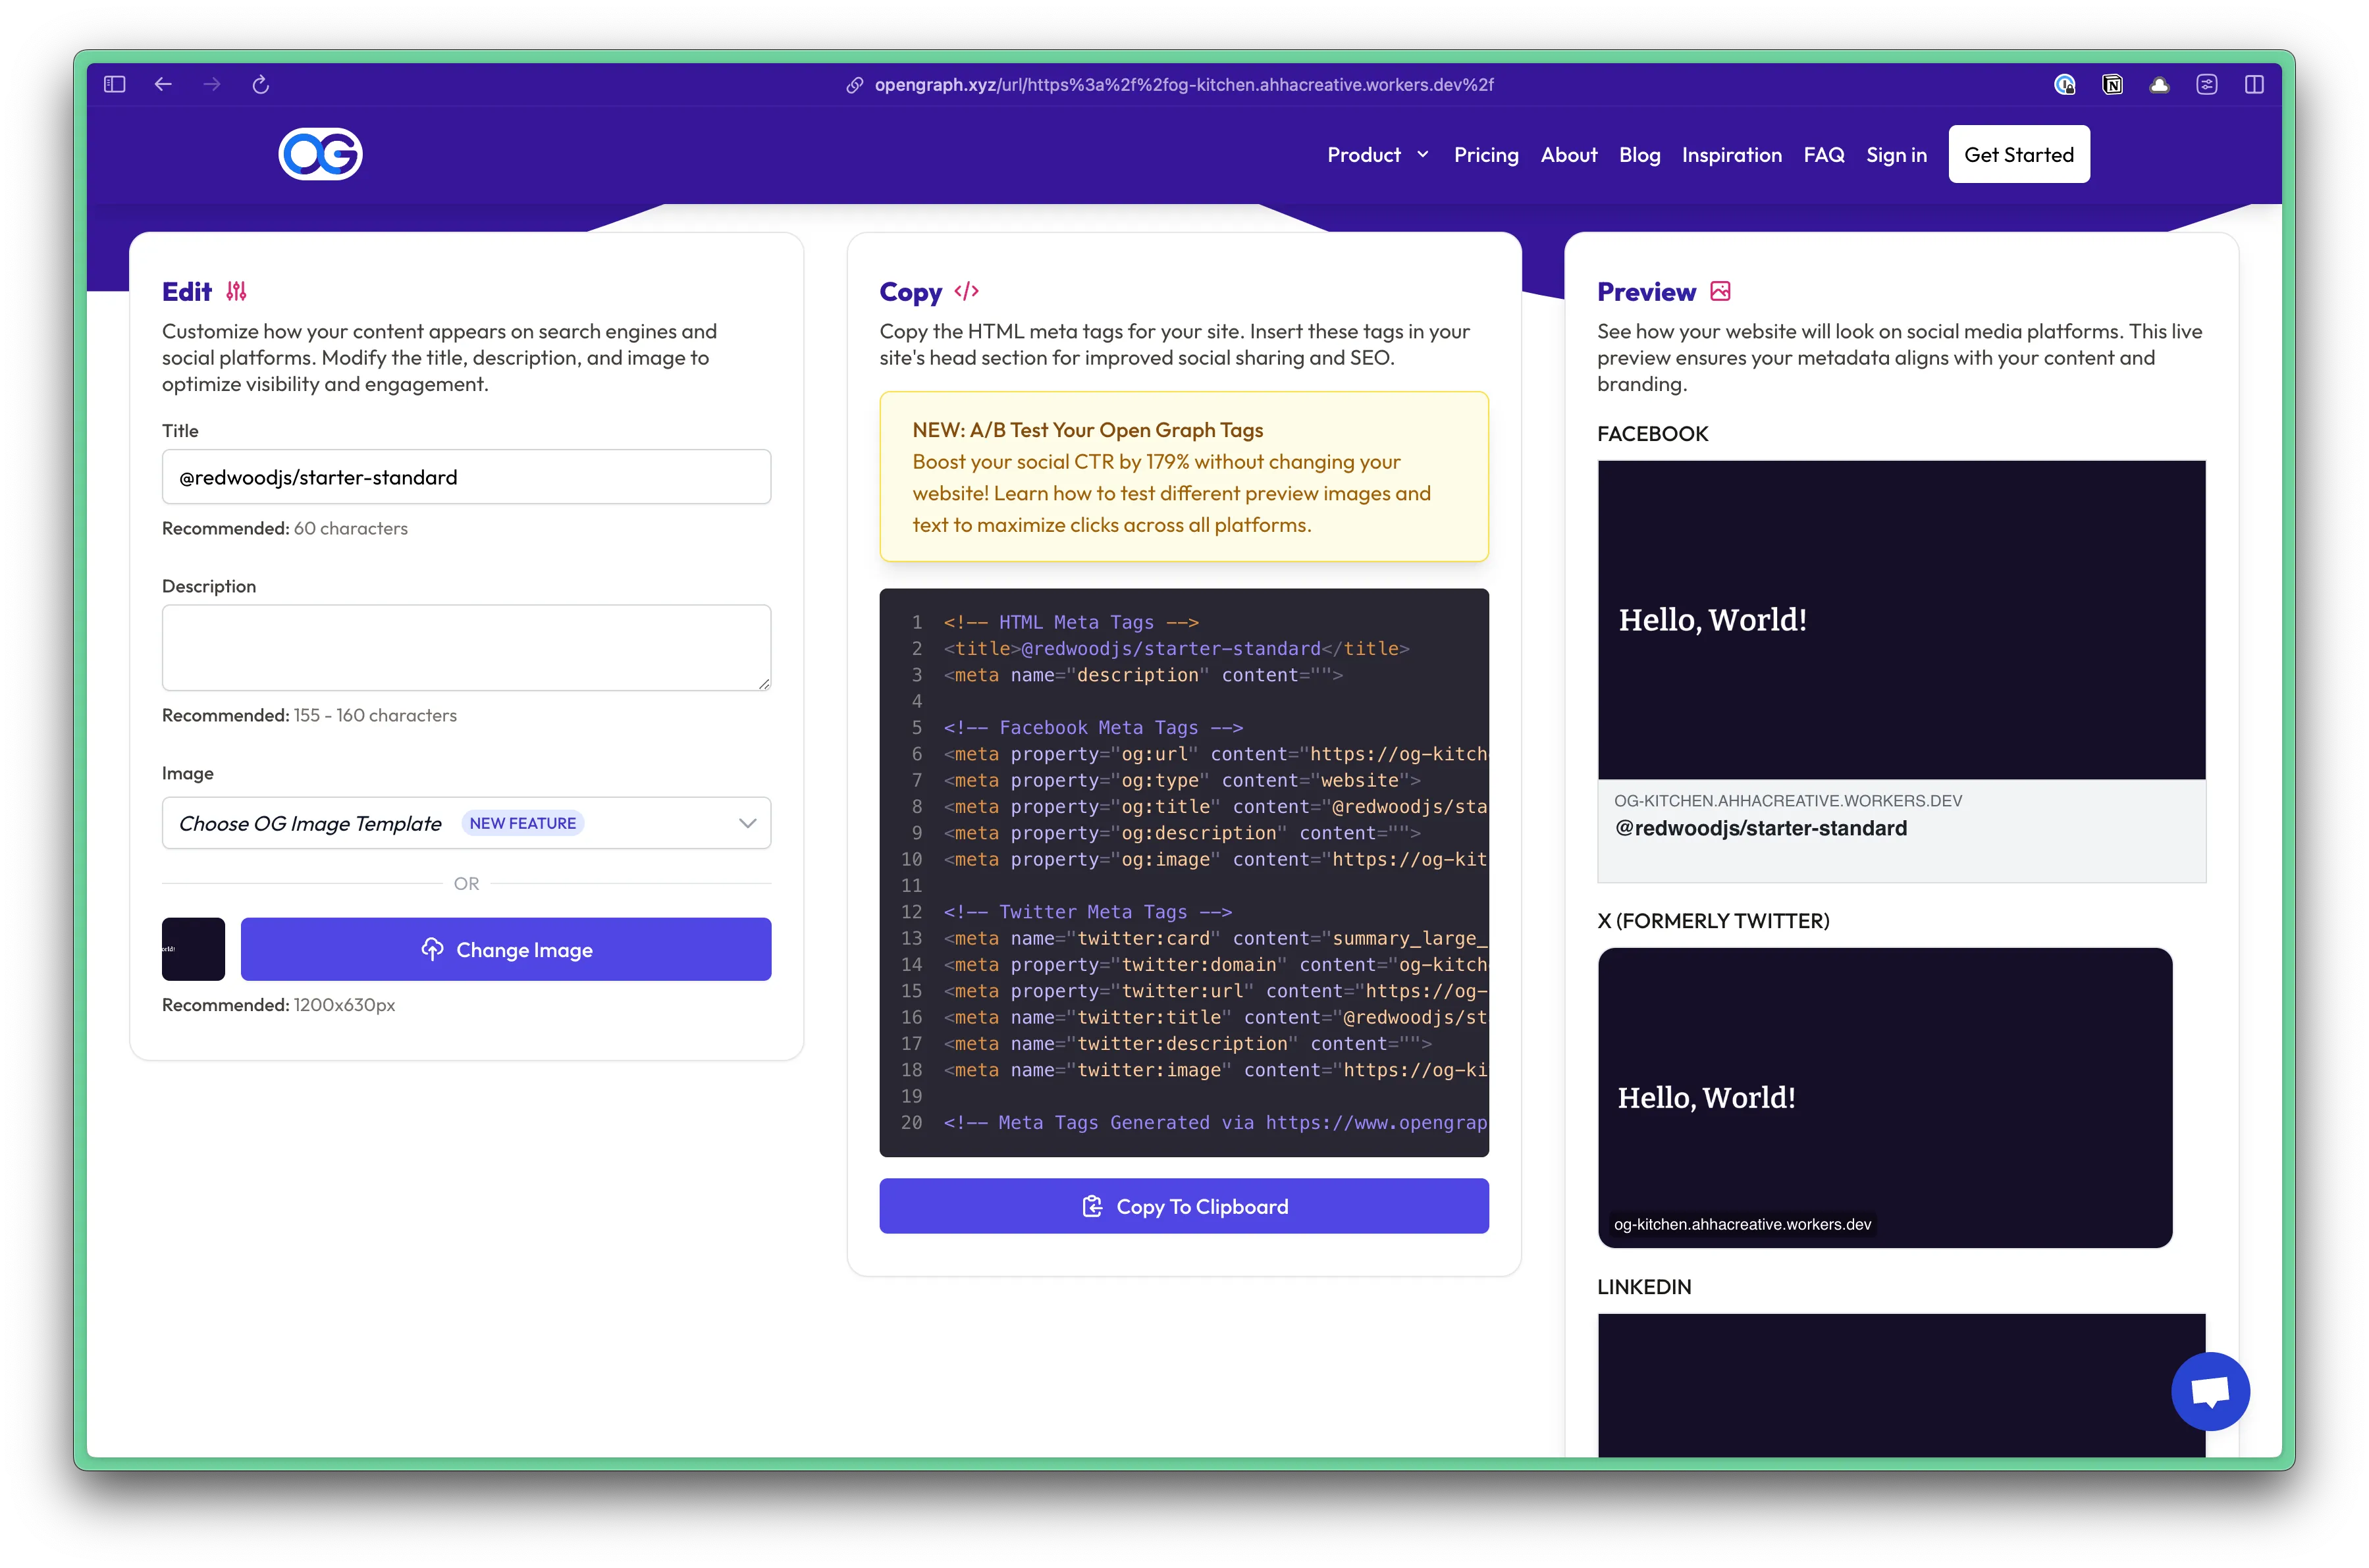
An Open Graph (OG) image is a specific image used when a webpage is shared on social media platforms like Facebook, LinkedIn, and Twitter/X. It serves as a visual preview that appears in link shares, providing a visual representation of the page’s content.
These are defined through the page’s meta tags:
<!-- Open Graph / Facebook --><meta property="og:type" content="article" /><meta property="og:title" content="page title" /><meta property="og:description" content="page description" /><meta property="og:image" content="https://example.com/og-image.png" /><meta property="article:published_time" content="2025-01-01" /><meta property="article:author" content="author name" />
<!-- Twitter --><meta name="twitter:card" content="summary_large_image" /><meta name="twitter:title" content="page title" /><meta name="twitter:description" content="page description" /><meta name="twitter:image" content="https://example.com/og-image.png" />
You can create a default, static OG image for the entire project, however, custom OG images are recommended for a better social sharing experience.
Within React 19, you can include meta tags directly within your page components and they’ll be rendered in the head. (More details on the Meta Data documentation)
Creating Dynamic OG Images
Section titled “Creating Dynamic OG Images”There’s a fantastic package called workers-og that allows you to create dynamic Open Graph images using Cloudflare Workers. 🙌
First, install the workers-og package:
pnpm install workers-ogNow, we have two options. You can use standard HTML and CSS to create your Open Graph image, or you can use a React component.
Using HTML and CSS
Section titled “Using HTML and CSS”Within the worker.tsx file, let’s create a new route, called /og:
render(Document, [ route("/og", () => {
const title = "Hello, World!";
const html = ` <div style="display: flex; flex-direction: column; align-items: center; justify-content: center; height: 100vh; width: 100vw; font-family: sans-serif; background: #160f29"> <div style="display: flex; width: 100vw; padding: 40px; color: white;"> <h1 style="font-size: 60px; font-weight: 600; margin: 0; font-family: 'Bitter'; font-weight: 500">${title}</h1> </div> </div> `;
return new ImageResponse(html, { width: 1200, height: 630, }); }),In this example, I hard coded the title, Hello, World!. However, you can pass parameters through the URL and make database calls to fetch the data you need.
Then, when returning the image, you’ll notice I’m passing in the html variable and specifying the width and height of the image.
Within the browser, you can visit the /og route to see the image:

Using React
Section titled “Using React”You can also use a React component, which probably feels more natural, especially for passing around props and parameters.
For this example, I’m going to create a new component inside the src/app/components directory, called Og.tsx:
const Og = ({ title }: { title: string }) => { return ( <div style={{ display: "flex", flexDirection: "column", alignItems: "center", justifyContent: "center", height: "100vh", width: "100vw", fontFamily: "sans-serif", background: "#160f29" }}> <div style={{ display: "flex", width: "100vw", padding: 40, color: "white" }}> <h1 style={{ fontSize: 60, fontWeight: 600, margin: 0, fontFamily: "Bitter" }}>{title}</h1> </div> </div> )}
export default OgNow, within your worker.tsx file, let’s create a new route, called /og-react:
.import Og from "@/app/components/Og";...route("/og-react", () => {
const title = "Hello, Amy!"; const og = <Og title={title} />;
return new ImageResponse(og, { width: 1200, height: 630, });}),Within the browser, you can visit the /og-react route to see the image:

Updating the Meta Tags
Section titled “Updating the Meta Tags”Now that you have your dynamic OG image, you can update the meta tags in your page component to use the new OG image.
<meta property="og:image" content="/og" />You can test your OG image by visiting the Open Graph Image Tester and entering your URL (not localhost).
