Sending Email
How to send email in your RedwoodSDK project
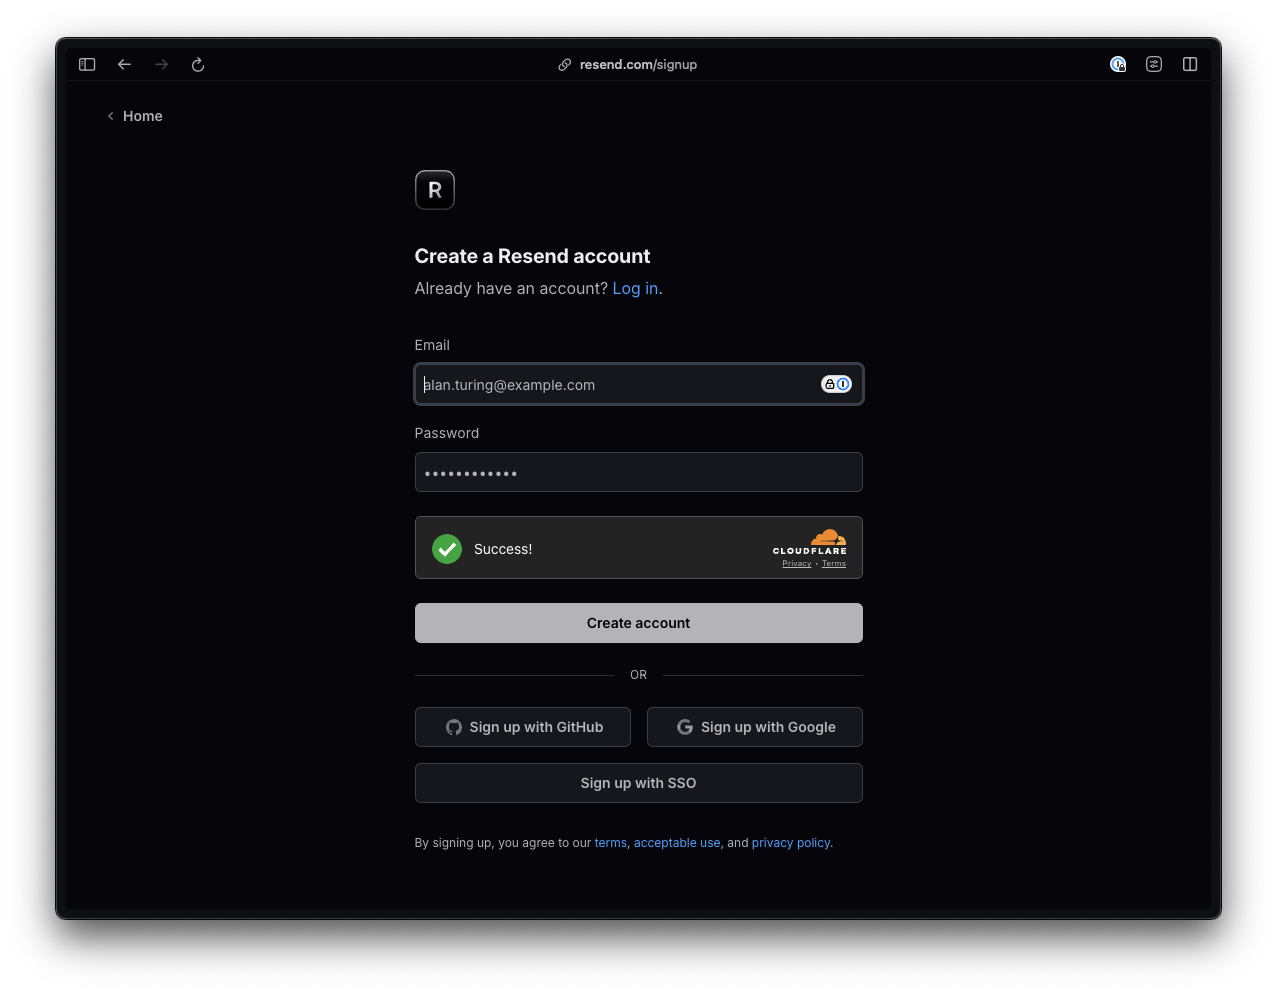
Setting Up Resend
Once you’ve created an account, you’ll be redirected to a page with instructions for sending your first email.
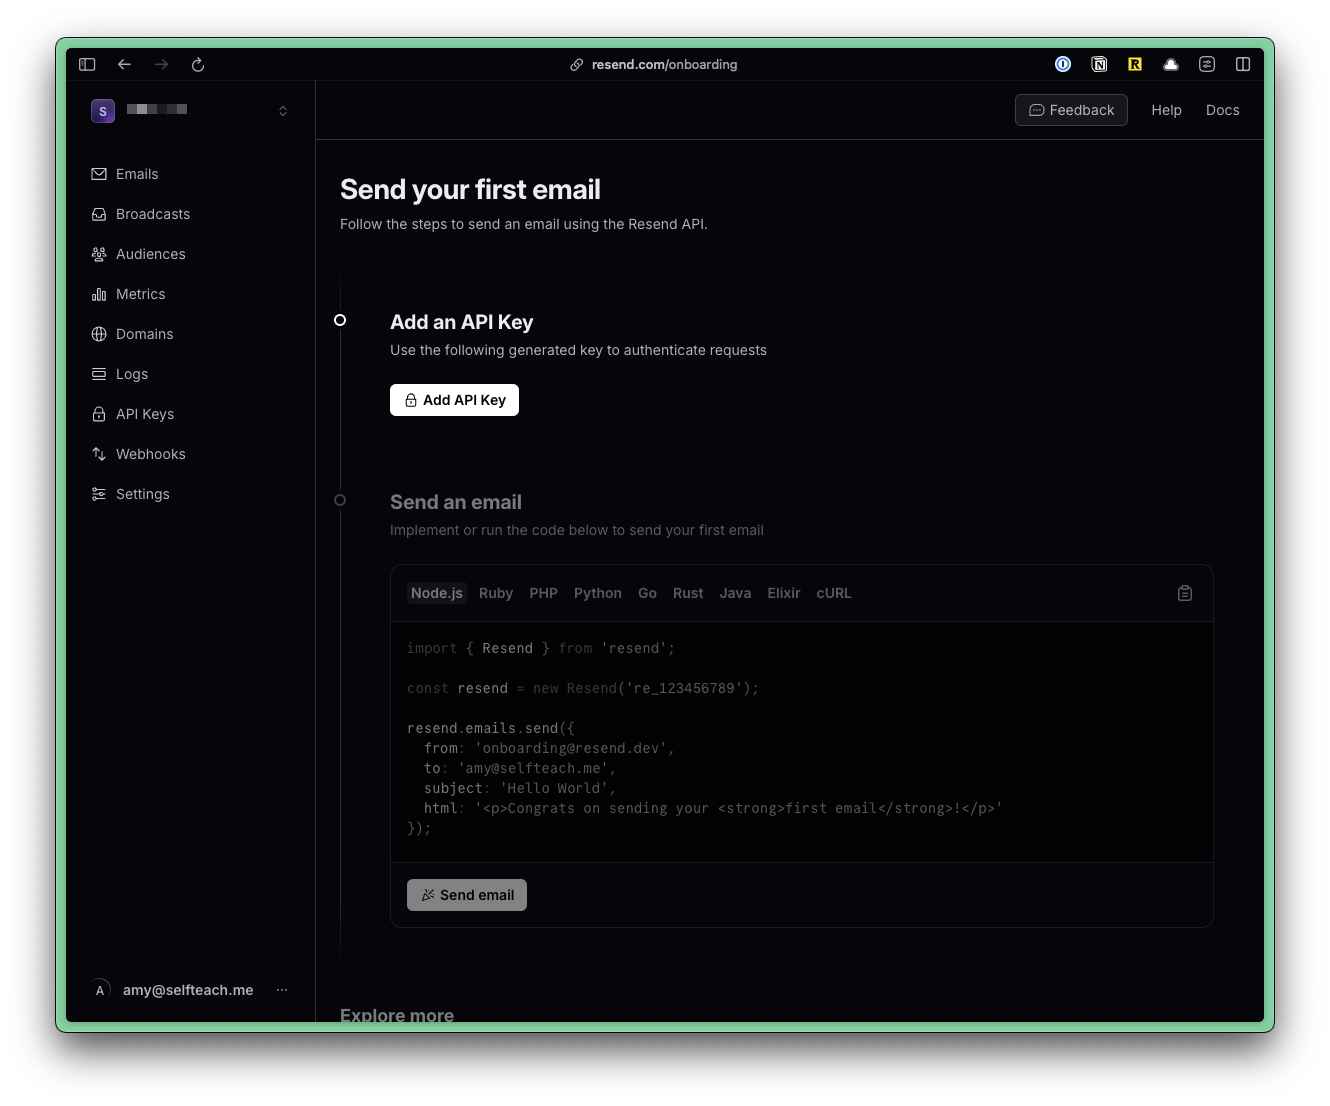
Create an API key by clicking on the “Add API Key” button.
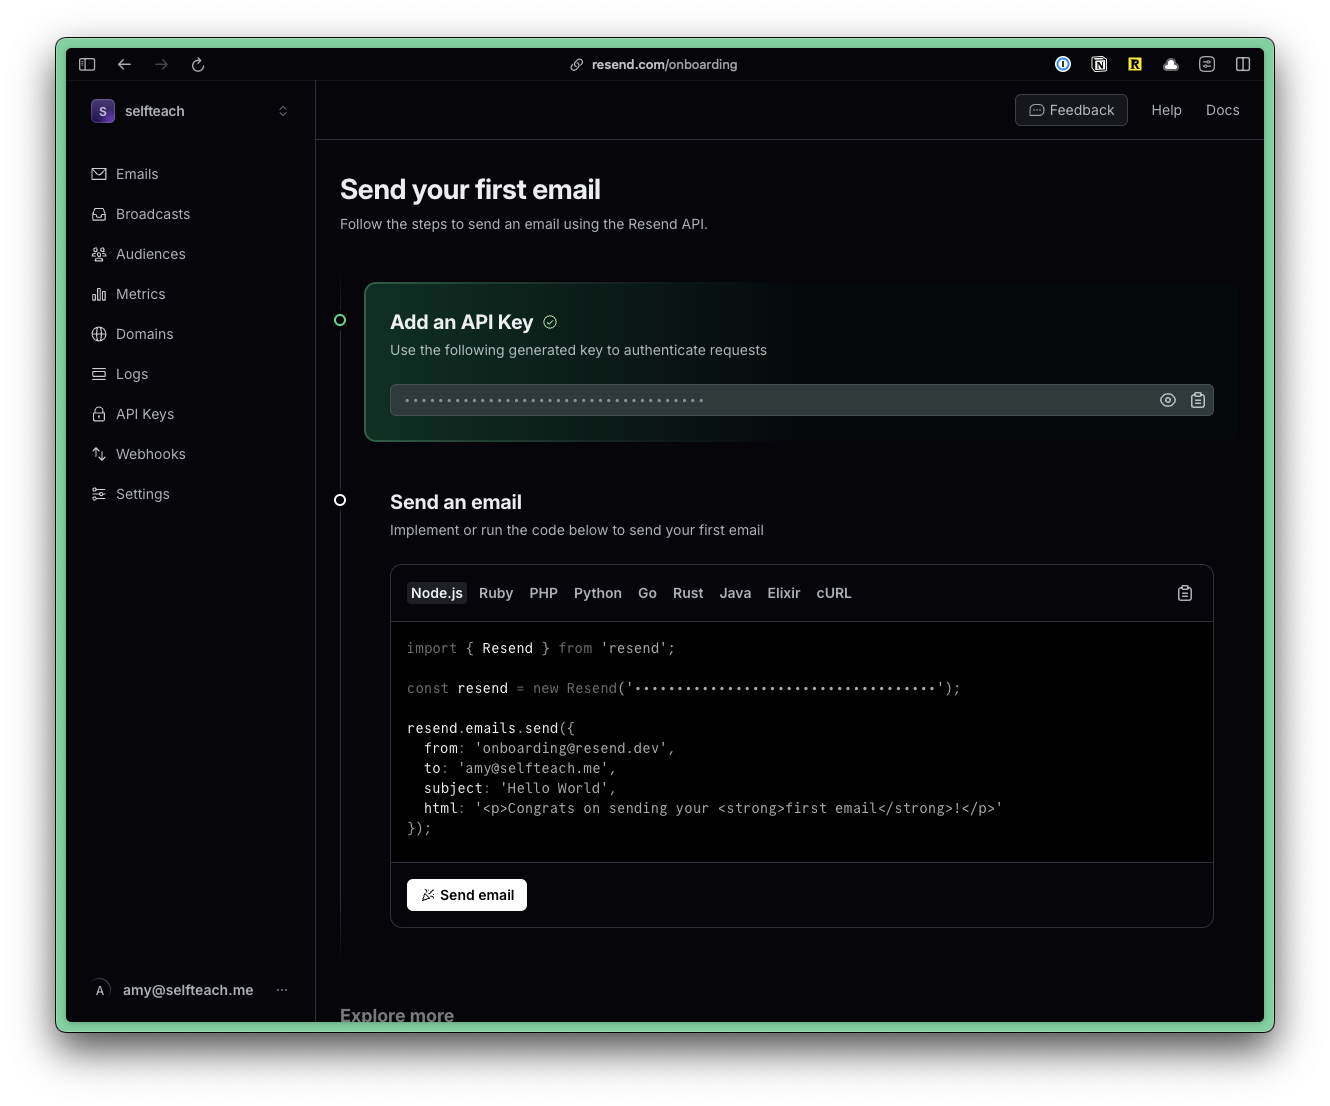
Copy the API and go to your .env file. Add a variable called RESEND_API and paste your key:
RESEND_API=re_1234567890Environmental Variables
If you don't have an .env file, you can duplicate the .env.example file and rename it to .env.
Cloudflare uses a .dev.vars file for environment variables. But, the common practice is to use a .env file. So, we've created a symlink for you. Anytime you make a change to the .env file, it will automatically update the .dev.vars file.
If you're missing the .dev.vars file, as soon as you run pnpm dev, it will be created for you.
Environmental Variables
You can find more information about Environmental Variables here.
Install the Resend package. Within the Terminal, run:
pnpm add resendYour setup is complete! 🥳 Now, we can send email.
Sending Email
Now, we can send email.
import { Resend } from "resend";

const resend = new Resend(env.RESEND_API);
const { data, error } = await resend.emails.send({
  from: "Acme <onboarding@resend.dev>",
  to: email,
  subject: "👋 Hello World",
  text: `Hello World`,
});
Verifying your Domain
Until your domain with Resend, there are several important limitations and restrictions to be aware of:
- Sending from Unverified Domains:
- You can only send emails from Resend's default addresses (
onboarding@resend.dev) before your custom domain is verified. Sending from your own domain or branded addresses is not allowed until verification is complete.
- Deliverability and Professionalism:
- Emails sent from unverified domains or default addresses are intended only for initial testing. These emails are more likely to be flagged as spam or appear unprofessional to recipients
- Sending Limits:
- Free accounts have a daily sending limit of 100 emails per day and a monthly limit of 3,000 emails. These limits apply regardless of whether your domain is verified, but sending from your own domain is only possible after verification.
- All accounts, including those not yet verified, are subject to a rate limit of 2 requests per second. This can be increased for trusted senders after domain verification and by contacting support.
You can find more information about verifying your domain on Resend's documentation.
When using Resend, you can send text, react, or html emails.
Example: Sending Text Email
const { data, error } = await resend.emails.send({
  from: "Acme <onboarding@resend.dev>",
  to: email,
  subject: "👋 Hello World",
  text: `Hello World`,
});
Example: Sending React Email
const Email = ({ name }: { name: string }) => {
  return <div>Hello {name}</div>;
};

const { data, error } = await resend.emails.send({
  from: "Acme <onboarding@resend.dev>",
  to: email,
  subject: "👋 Hello World",
  react: <Email name="John" />,
});
Resend also backs the React Email project. This library includes unstyled components and the Tailwind CSS support. More under Email Templates.
Example: Sending HTML Email
const { data, error } = await resend.emails.send({
  from: "Acme <onboarding@resend.dev>",
  to: email,
  subject: "👋 Hello World",
  html: "<h1>Hello World</h1>",
});
Test Emails
Resend provides a set of safe email addresses specifically designed for testing, ensuring that you can simulate different email events without affecting your domain’s reputation. Resend Documentation
A lot of developers will use @example.com or @test.com for testing. However, these addresses will often reject messages, leading to bounces. A high bounce rate can negatively impact your sender reputation and affect future deliverability. Therefore, Resend will return a 422 error if you attempt to use these addresses.
Instead, Resend provides the following addresses:
| Address | Delivery Event Simulated |
|---|---|
delivered@resend.dev | Email was delivered |
bounced@resend.dev | Email was bounced |
Constants File
We recommend creating a constants file to store reusable values. Inside your src/app/shared directory, create a new file called constants.ts.
- src/
- app/
- shared/
- constants.ts
- shared/
- app/
Inside the constants.ts file, add the following:
export const CONSTANTS = Object.freeze({
  FROM_EMAIL: "Acme <onboarding@resend.dev>",
});
Now, you can use the FROM_EMAIL constant in your code.
import { CONSTANTS } from "~/shared/constants";
...
const { data, error } = await resend.emails.send({
  from: CONSTANTS.FROM_EMAIL,
  to: email,
  subject: "👋 Hello World",
  text: `Hello World`,
});
Example Repository
You can find an example repository with the code in this guide here.