Email Templates
The React Email project makes it easy to create email templates. It includes unstyled components and the Tailwind CSS support.
Installation
Section titled “Installation”Install the React Email components to your project by running the following command in the Terminal:
pnpm add @react-email/componentsThis assumes that you’ve already installed Resend to your project. If not, you can install the React Email components and Resend in one go:
pnpm add @react-email/components resendThen, install the React Email Preview:
npx create-email@latest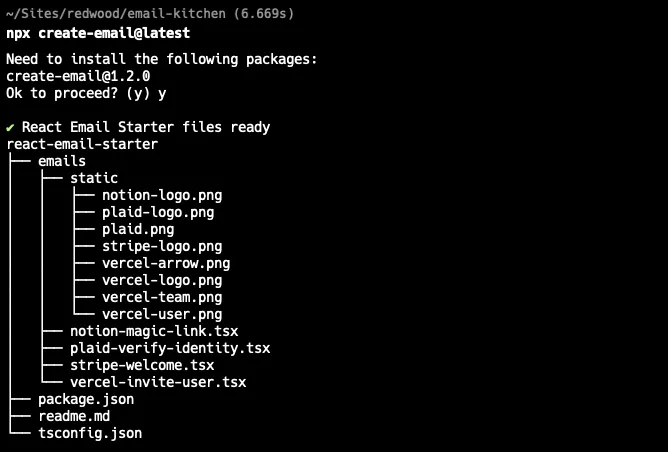
This will create a new directory called react-email-starter.
cd react-email-starterpnpm installpnpm dev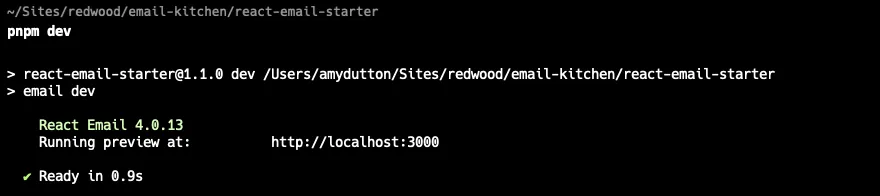
Now, you can open a browser at http://localhost:3000 and see the preview.
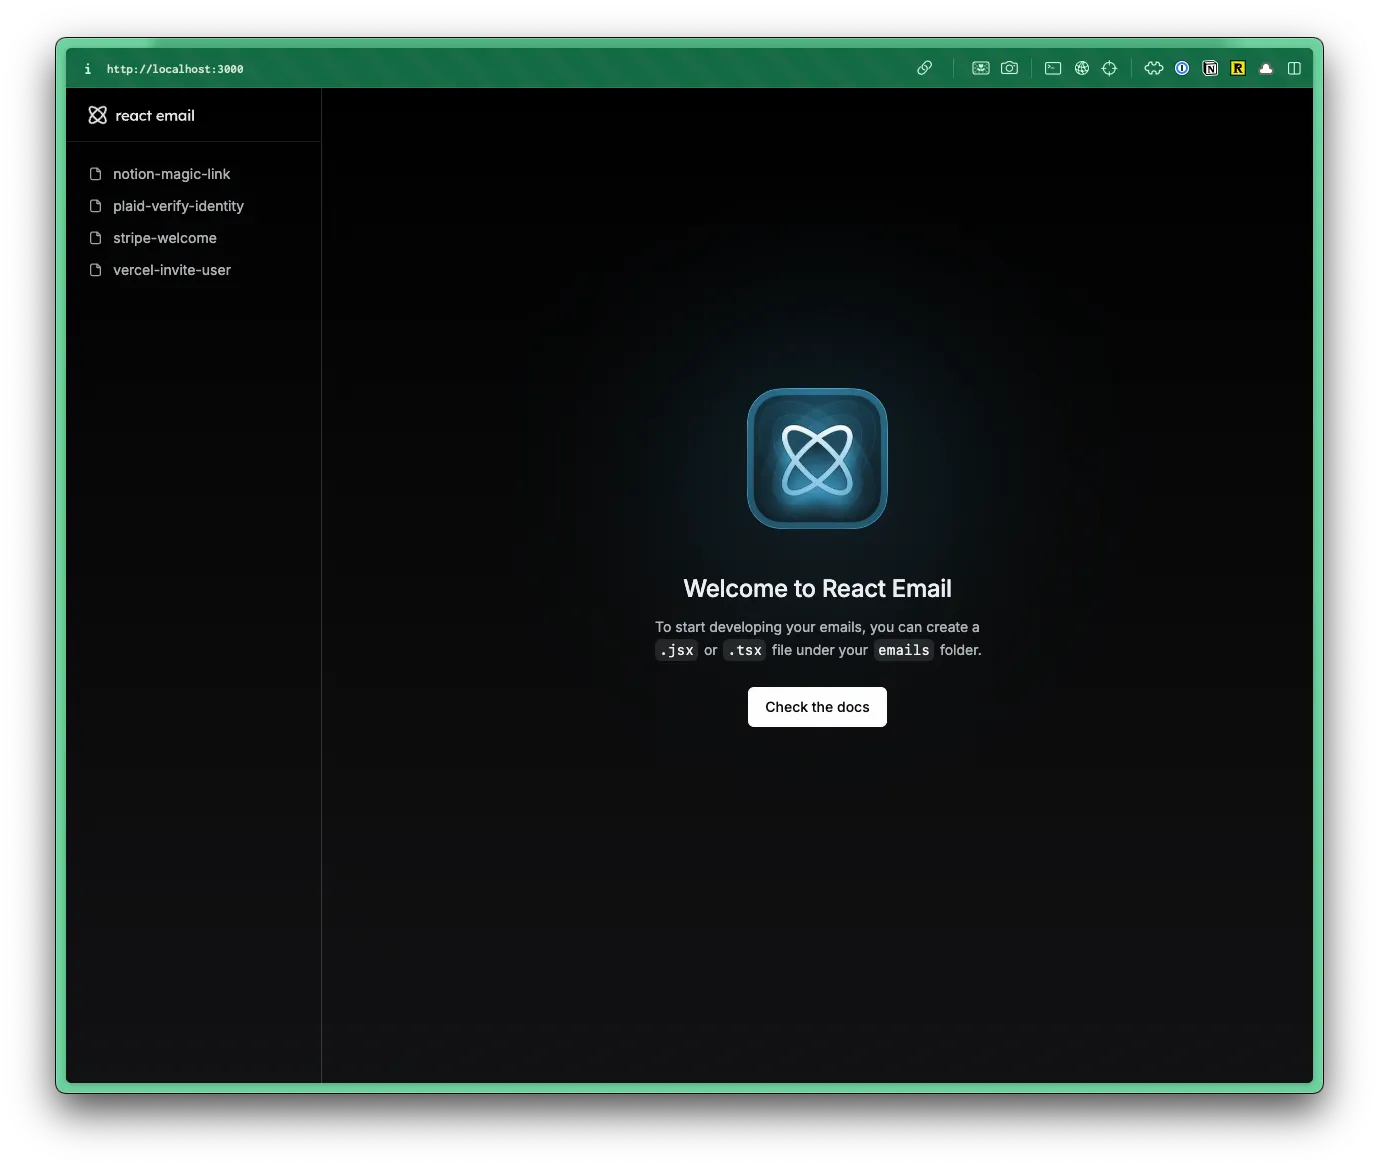
In the left sidebar, you’ll notice that React Email has 4 email examples you can preview. These correspond with the .tsx files inside the react-email-starter/emails directory:
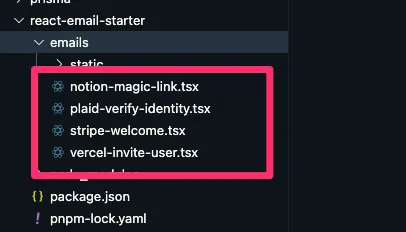
All the assets for these example emails are within the react-email-starter/emails/static directory.
You can delete all the contents inside the emails directory. Or, oftentimes, I’ll create a sub directory called archive and move the contents there.
Creating a New Email Template
Section titled “Creating a New Email Template”-
Create a new file in the
emailsdirectory with a.tsxextension. -
Inside your email file, paste the following code:
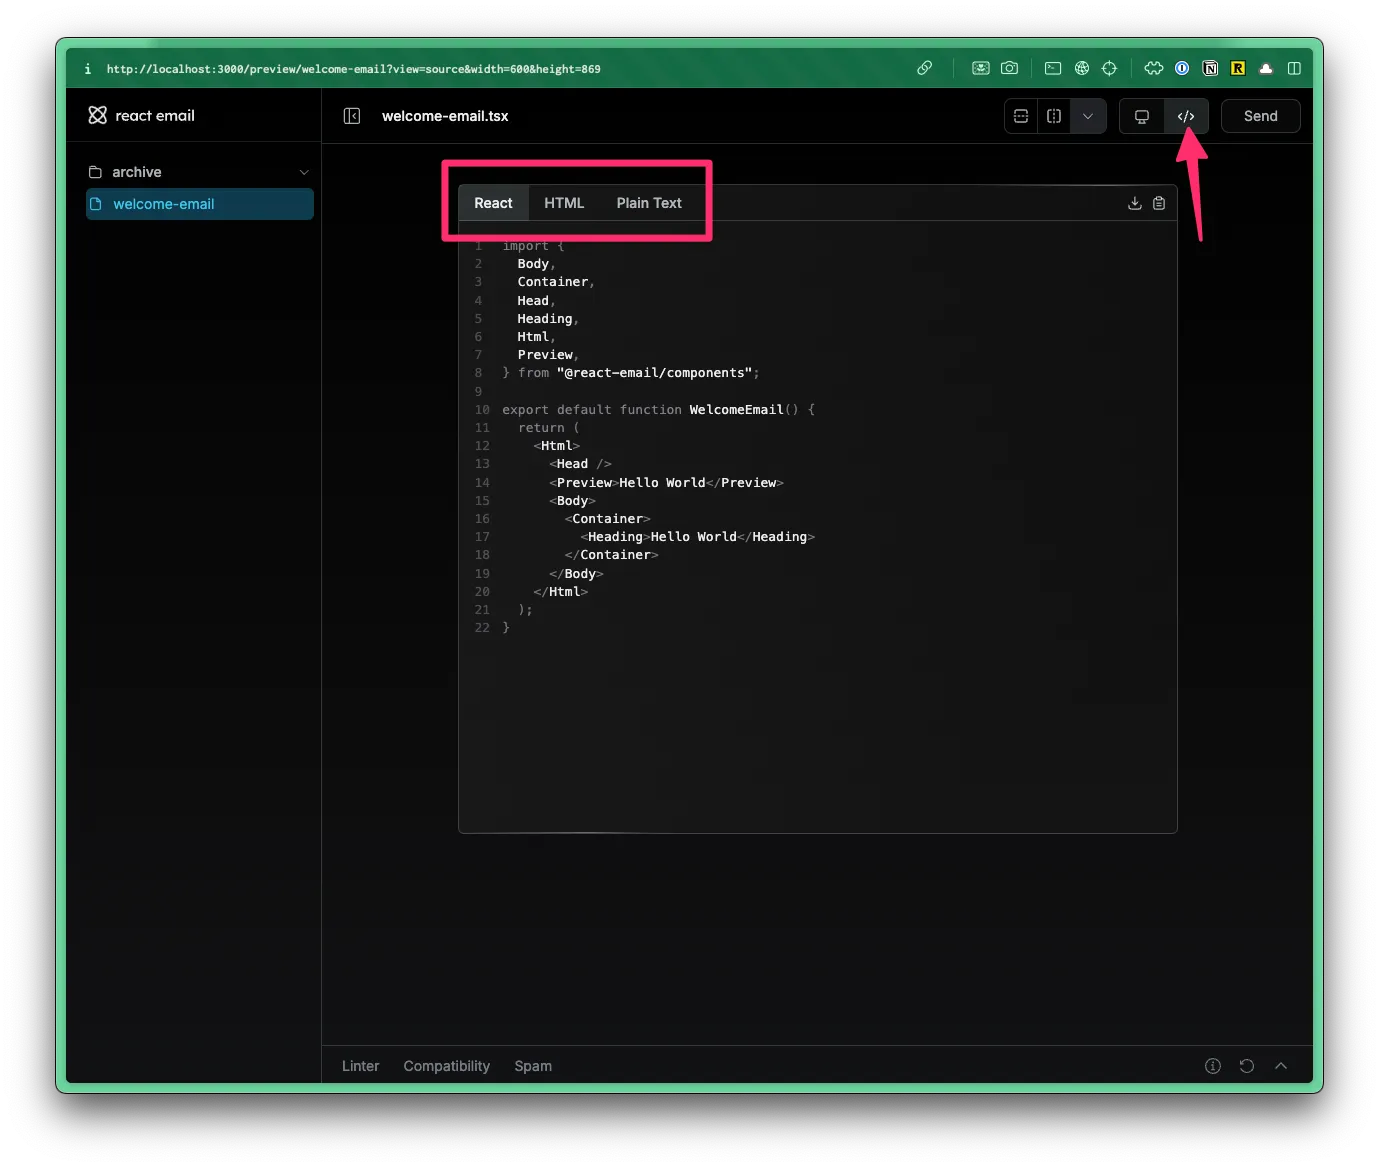
src/emails/welcome-email.tsx import {Body,Container,Head,Heading,Html,Preview,} from "@react-email/components";export default function WelcomeEmail() {<Html><Head /><Preview>Hello World</Preview><Body><Container><Heading>Hello World</Heading></Container></Body></Html>);You’ll notice that React Email has several primitives, making it easy to create a new email template.
You can see a full list of components on the React Email documentation.
React Email also has several prebuilt components for galleries, e-commerce, articles, etc.
-
Adjust the template to your liking.
Keep in mind that you can pass in props, personalizing the template and making it more dynamic.
src/emails/welcome-email.tsx interface WelcomeEmailProps {name: string;}export default function WelcomeEmail({ name }: WelcomeEmailProps) {<Html><Head /><Preview>Hello {name}</Preview><Body><Container><Heading>Hello {name}</Heading></Container></Body></Html>); -
When you’ve finished building the email template, you can get the code by clicking on the Code button in the browser preview.
From here, you download or copy and paste the React code, HTML, or Plain Text into your project.
Create a new folder inside the
src/appdirectory calledemailsand paste the React Email code into the new file.Directorysrc/
Directoryapp/
Directoryemails/
- WelcomeEmail.tsx
-
Updating your Resend Code:
Now, you can update your Resend code (pulled from the example on Sending Email page) to use the new email template.
src/app/emails/WelcomeEmail.tsx import WelcomeEmail from "@/app/emails/WelcomeEmail";const { data, error } = await resend.emails.send({to: email,subject: "👋 Hello World",react: <WelcomeEmail name="Amy" />,});
Using Tailwind within Email Templates
Section titled “Using Tailwind within Email Templates”-
importthe Tailwind component at the top of your email template:src/emails/WelcomeEmail.tsx import { Tailwind } from "@react-email/components"; -
Wrap your email template in the
Tailwindcomponent:src/emails/WelcomeEmail.tsx <Tailwind><Html><Head /><Preview>Hello World</Preview></Html></Tailwind> -
If you want to use a custom theme, this will need to be defined as a
configprop, passed into theTailwindcomponent.src/emails/WelcomeEmail.tsx <Tailwindconfig={{theme: {extend: {colors: {brand: "#007291",},},},}}>...If you go this route, we recommend putting the
configprop in a separate file, importing it into your email template, and passing it into theTailwindcomponent.src/emails/tailwind.config.ts export default {theme: {extend: {}}}src/emails/WelcomeEmail.tsx import tailwindConfig from "./tailwind.config";<Tailwind config={tailwindConfig} />