shadcn/ui
Installing shadcn/ui
Section titled “Installing shadcn/ui”-
Install shadcn/ui
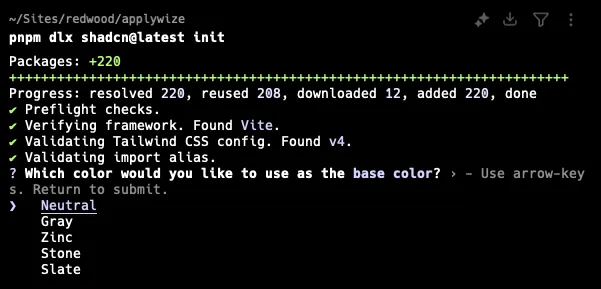
Terminal window npx shadcn@latest initTerminal window pnpx shadcn@latest initTerminal window yarn dlx shadcn@latest initIt will ask you what theme you want to use.
This command will create a
components.jsonfile in the root of your project. It contains all the configuration for our shadcn/ui components.If you want to match RedwoodSDK conventions, add the following aliases to the
components.jsonfile:components.json ..."aliases": {"components": "@/app/components","utils": "@/app/lib/utils","ui": "@/app/components/ui","lib": "@/app/lib","hooks": "@/app/hooks"},... -
Now, you should be able to add components: You can add components in bulk by running:
Terminal window npx shadcn@latest addTerminal window pnpx shadcn@latest addTerminal window yarn dlx shadcn@latest addOr, you can add a single component by running:
Terminal window npx shadcn@latest add <COMPONENT-NAME>Terminal window pnpx shadcn@latest add <COMPONENT-NAME>Terminal window yarn dlx shadcn@latest add <COMPONENT-NAME>Components will be added to the
src/app/components/uifolder.Directorysrc/
Directoryapp/
Directorycomponents/
Directoryui/
- …
Toaster (sonner)
Section titled “Toaster (sonner)”By default, the shadcn Toaster (from sonner) might not work if added directly to the Document because it needs to be client-side and properly encapsulated within the route tree where toasts are triggered.
To make it work:
- Create a “Client Component” for the Toaster.
- Create a Layout that encapsulates your routes.
- Render the Toaster within that Layout.
"use client";
import { Toaster as Sonner } from "@/app/components/ui/sonner";
export function Toaster() { return <Sonner />;}import { Toaster } from "@/app/components/Toaster";
export function MainLayout({ children }: { children: React.ReactNode }) { return ( <> {children} <Toaster /> </> );}